


Tips and tricks to set up your first guitar

Hey there! If you’re looking to set up your first guitar but don’t know where to start, you’ve come to the right place. We’re going to share some tips and tricks that will help you restring and set up your guitar like a pro. Whether you’re a beginner or an experienced player, there are a few things you might not know about guitar setup that can make a big difference in how your instrument sounds and plays. So, grab your guitar, and let’s get started!
Here is what you might need:
Essentials
- Guitar strings (any brand or gauge of your preference)
- Allen wrench (usually included with the guitar)
- String winder (for faster and easier restringing)
- String clipper (to cut the strings)
- Microfiber cloth (to avoid scratching the finish)
Tools
- Spray cleaner (for very light cleaning, can use a lightly damped cloth with warm water)
- Lemon oil (for rosewood or ebony fretboards)
- Phillips head screwdriver
- Tape (to protect the frets while cleaning)
- 9-volt battery (only for guitars with a preamp)
- Sandpaper (for sanding or polishing, but should be used carefully to avoid damaging the finish)
- Fret rubber (or any abrasive but not too abrasive material)
- Ruler (for measuring action)
- Paintbrush or toothbrush (for cleaning hard-to-reach areas)
Optional
- Super fast restringing tool (for even faster restringing)
- Couch (for resting after restringing, but not really a tool)
Need some of these products? Find them below!


Step 1: Release the tension of the strings
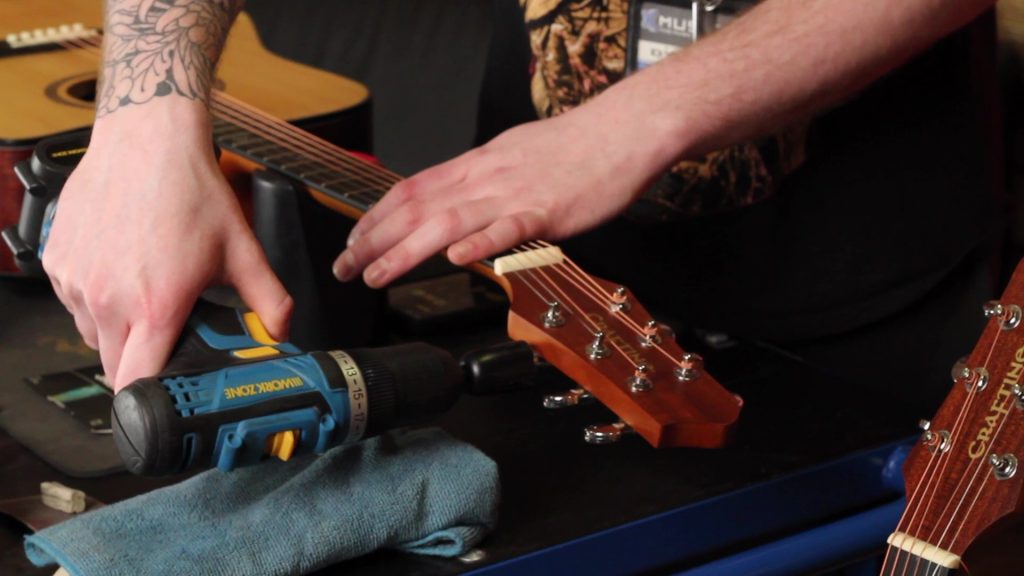
- Starting from the machine head, use a string winder or any suitable tool to unwind the strings slowly, to release their tension.
- It’s important to maintain control over the string winder to avoid any accidents.
- The string hole should be aligned with the string that is being taken off to make it easier to put the new string in.
- Make sure that you unwind the guy properly, which will be easy if you have enough tension released.
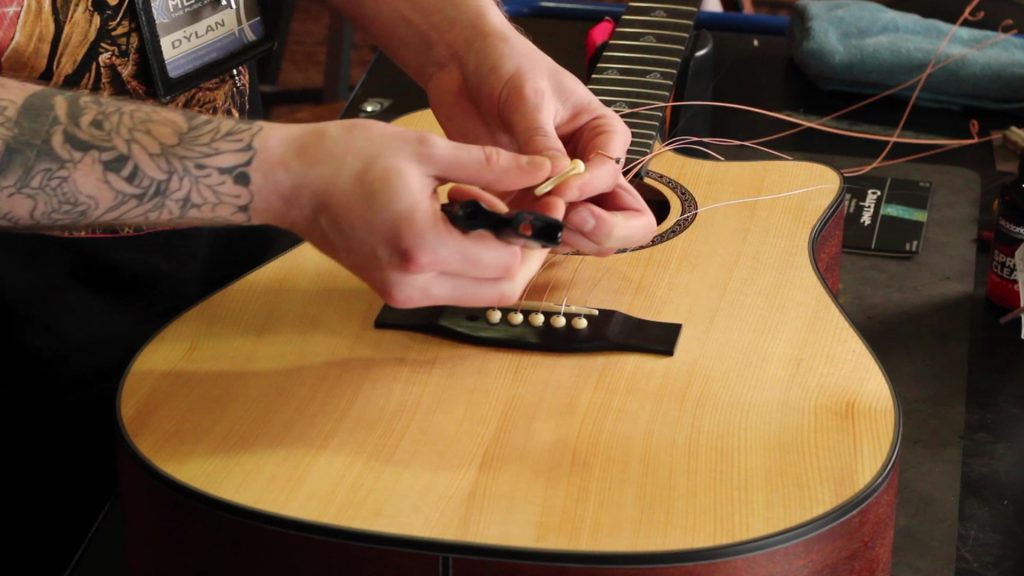
Step 2: Remove the old strings
Remove the old strings using a string winder/bridge pin puller outer. Use the bridge pin puller outer to slide under the bridge pin, pull it up to release the string on one side. Make sure the bridge pins don’t fall on the ground.
For stubborn bridge pins, use something hard that can fit into the hole, like the side of a paintbrush or a snipper. Push up to find the bottom of the bridge pin and release it.
Repeat this process for all the strings until all old strings are removed.
Step 3: Cleaning and conditioning the fretboard
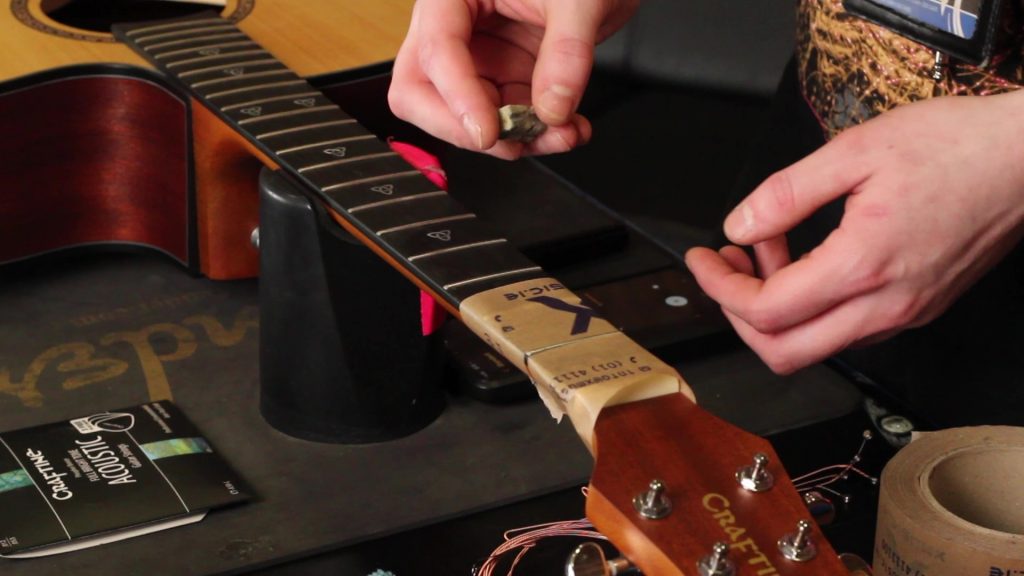
After removing the old strings, take some tape that doesn’t leave any residue and place it on each side of a fret. Then take a polishing cloth or a fret rubber and rub it on the fret. Repeat this process for each fret on the fretboard.
Once you have finished, remove the tape and take some lemon oil if the fretboard is made of rosewood or ebony. Put a few drops of lemon oil on the fretboard and use a clean cloth to rub it in. Use the oil sparingly, and once you’re happy that the fretboard looks clean and conditioned, you’re ready to move on to the next step.

Step 4: Putting the new strings in
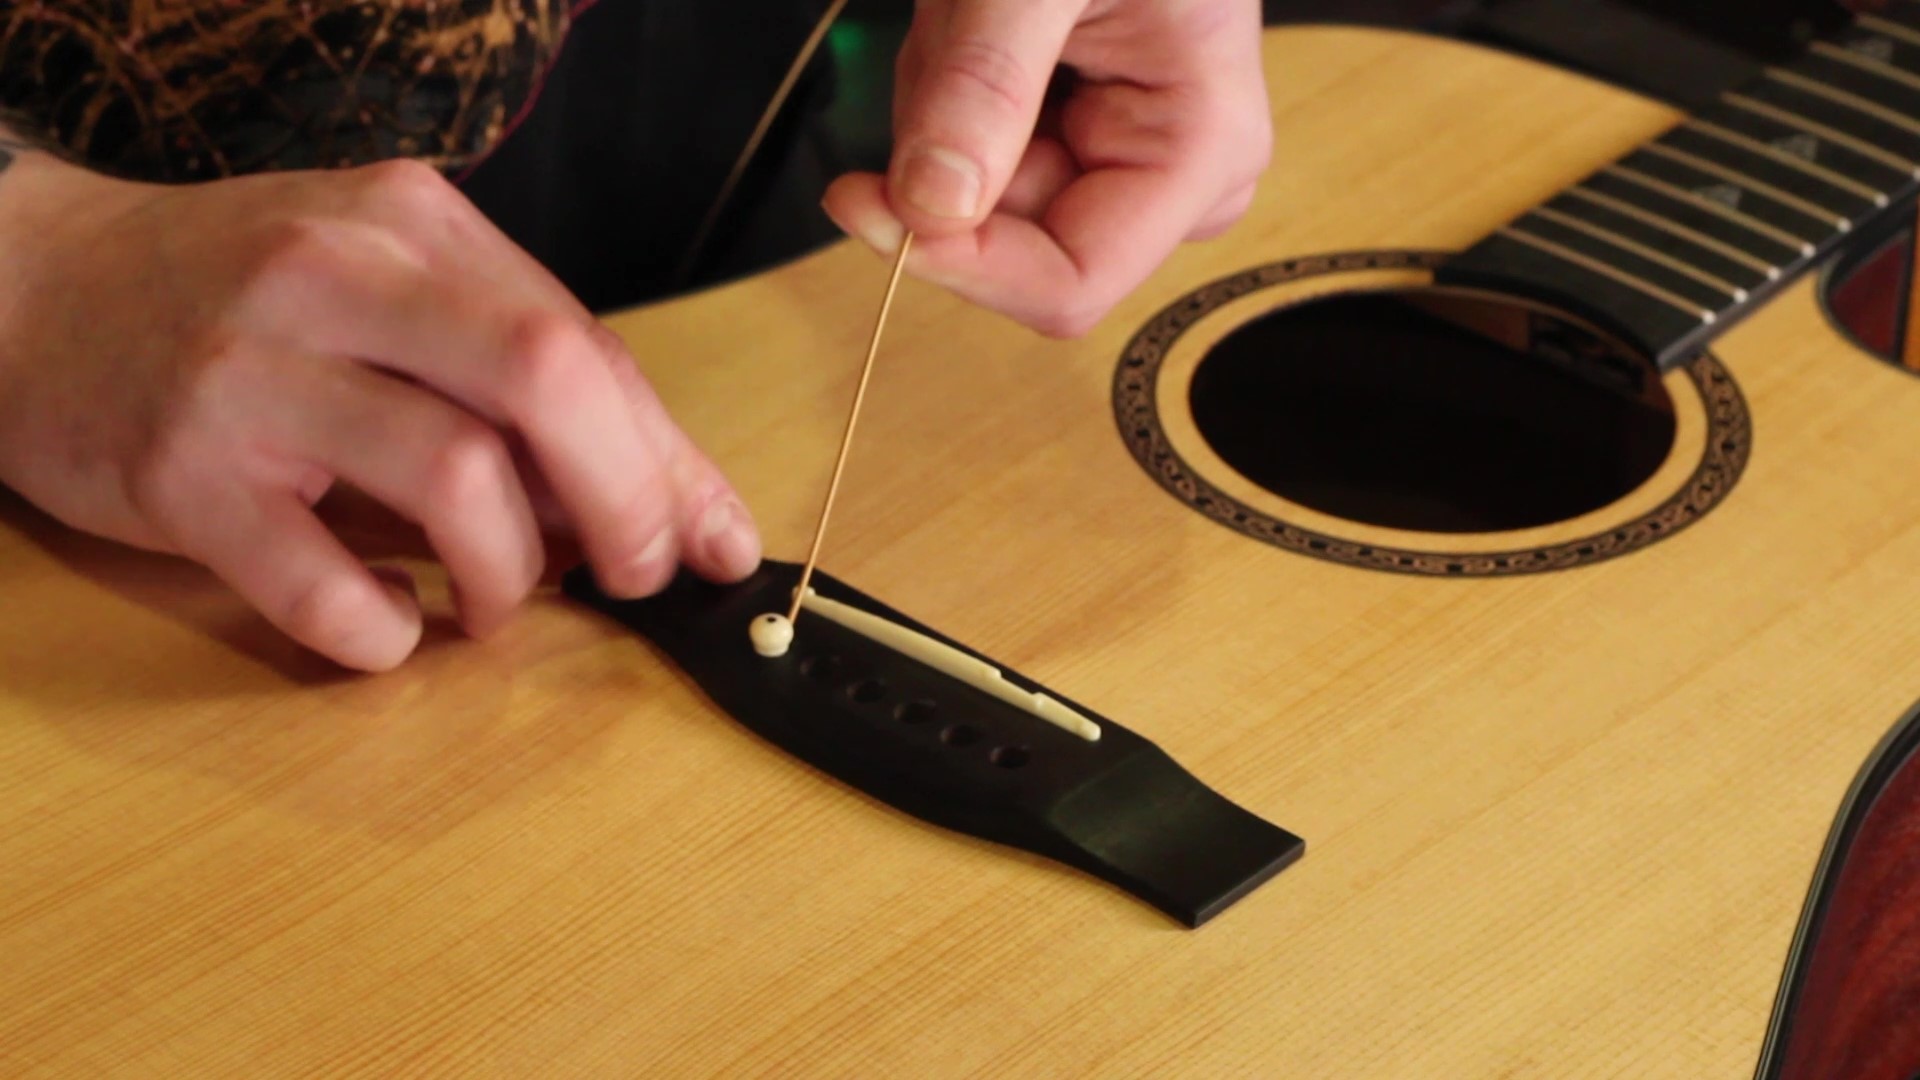
Start with the thickest string, the low E string, which is numbered as the sixth string. Put the string in, ball first, and push down while pulling the string to ensure the bridge pin stays in place. Once all the strings are in place, make sure they are not able to pull out from the bridge pin.
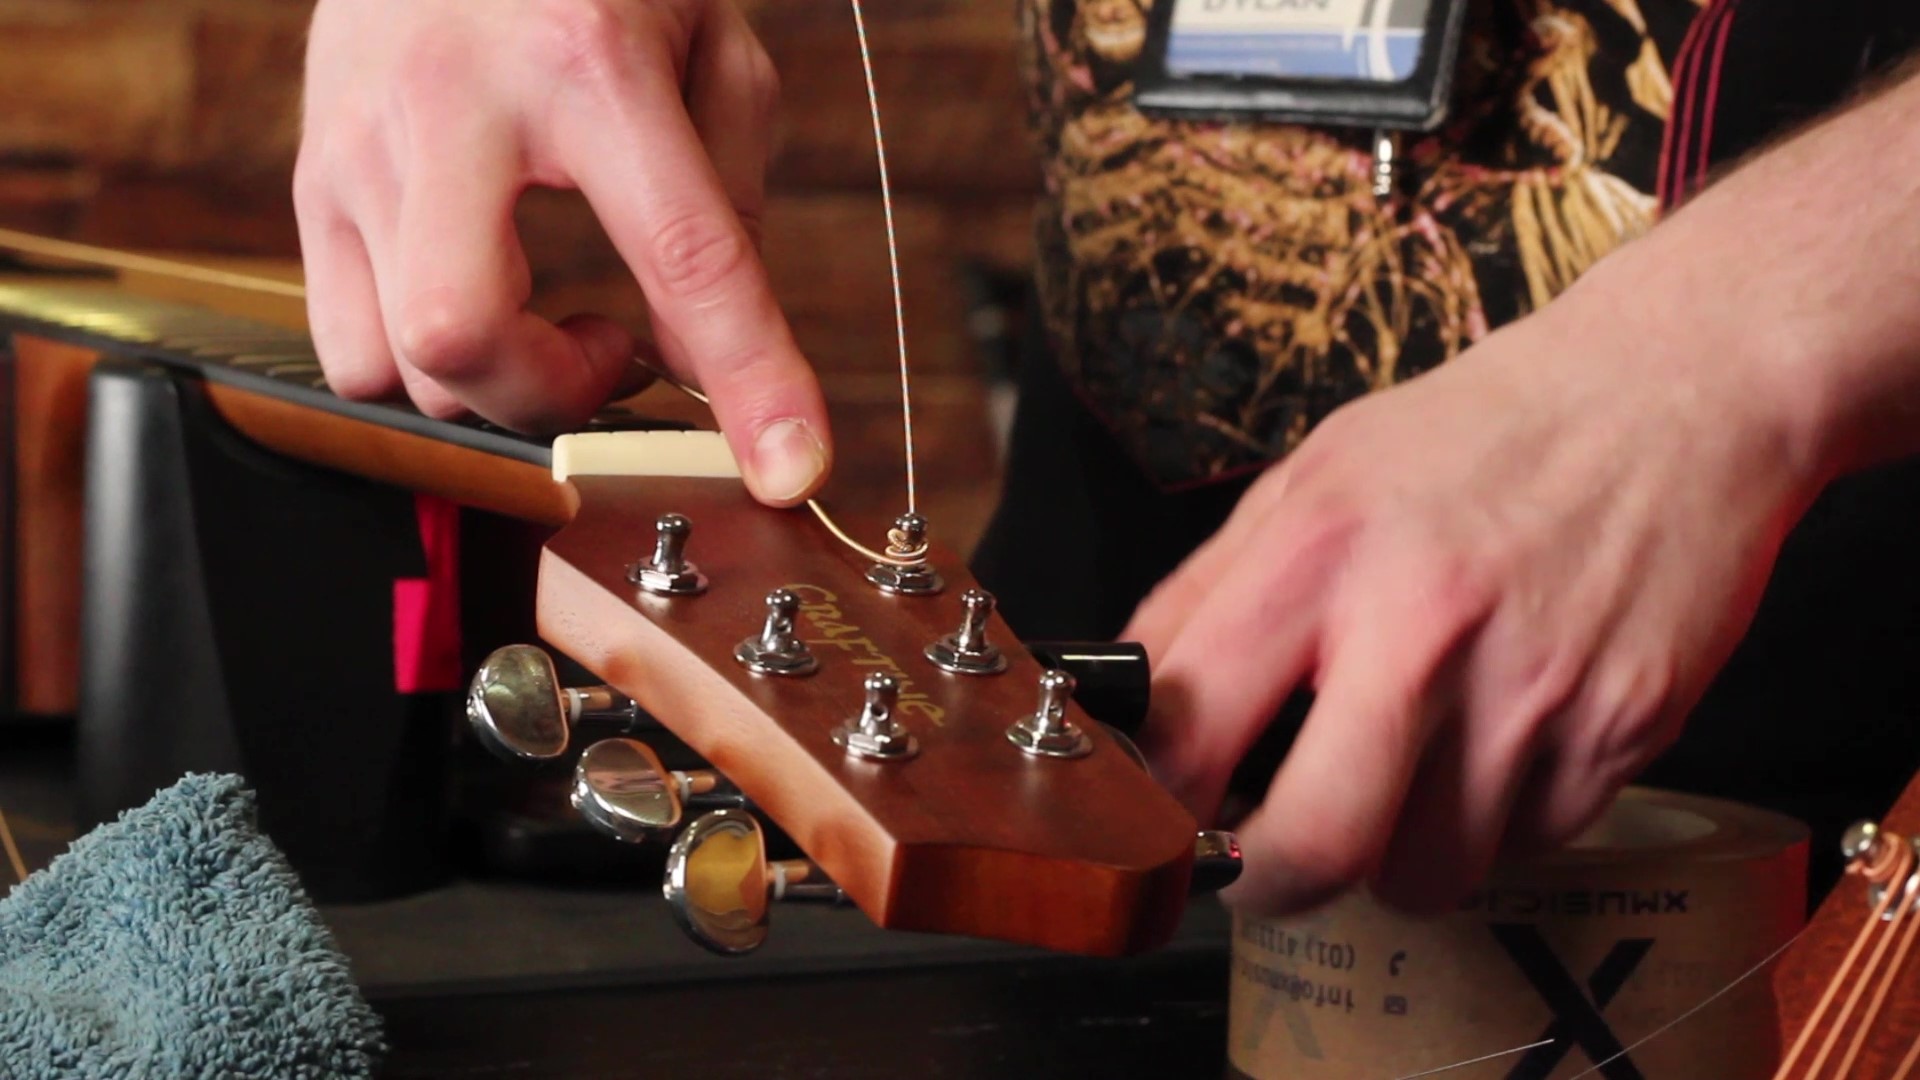
Bring the string up and around the top of the machine head, leaving about four fingers’ worth of length, and push the string up to anchor it in place.
Wind the string around the shaft of the machine head, ensuring that it goes on the inside of the tuner facing away from the button on the machine head. Wind the string around two or three times, or up to four times, to ensure proper tension.
Repeat this process for all the strings, winding them in the correct order and direction.
Note: This method of restringing is used to ensure better tuning stability, and it is important to wind the strings correctly to avoid any issues with tuning later on.
Step 5: Tuning your guitar
There are few types of tuners:
Classic tuner
Clip-on tuner
Pedal tuner
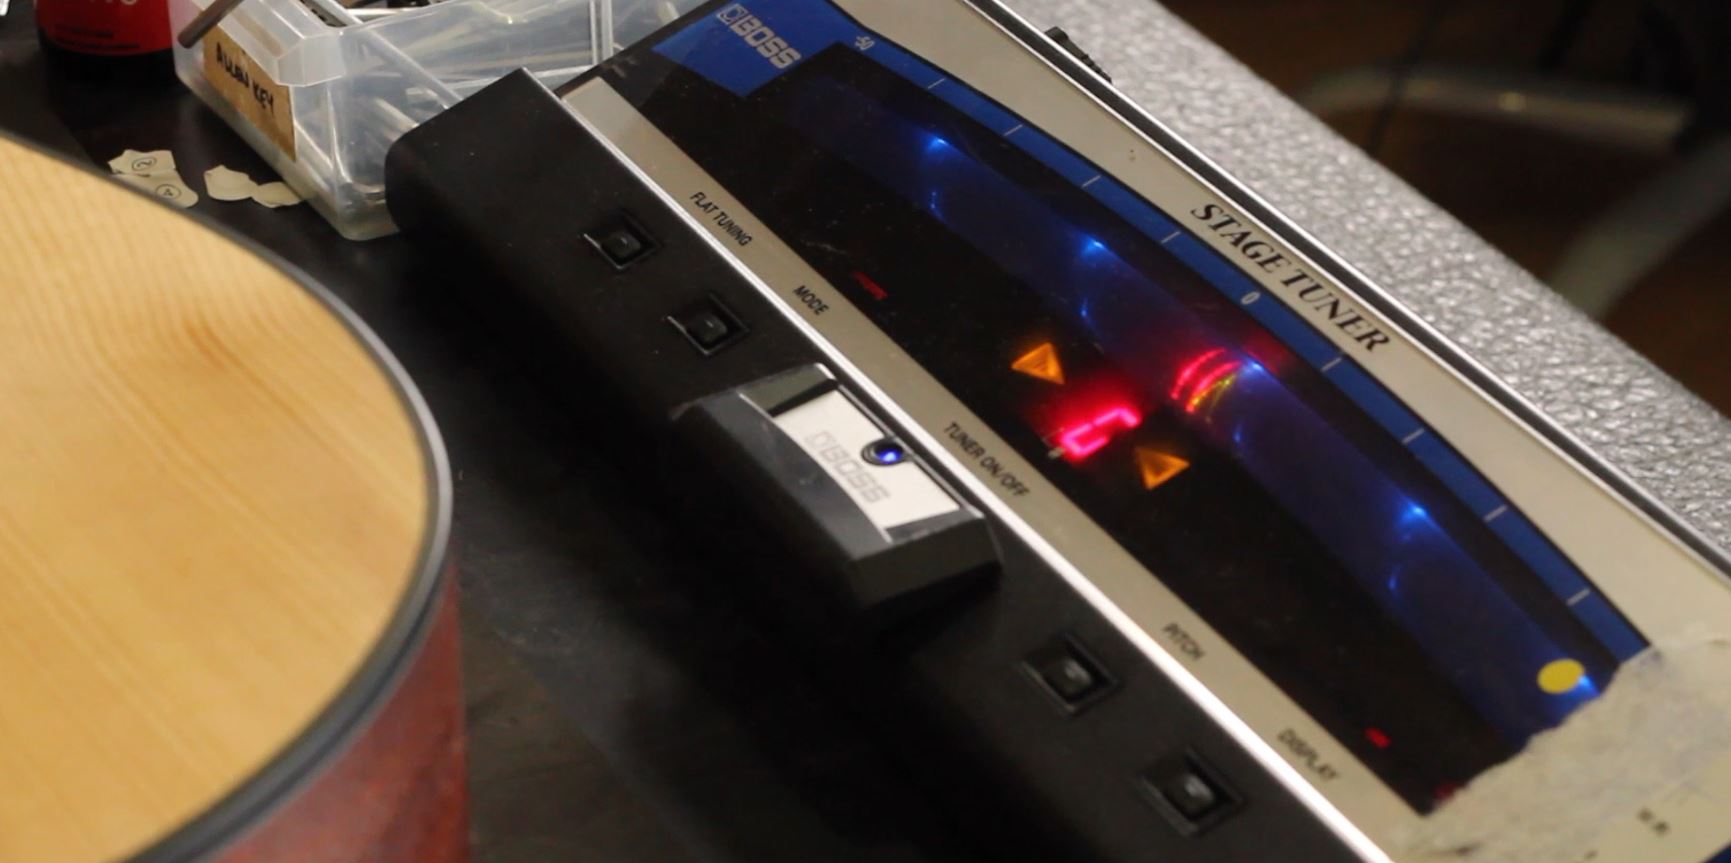
We are using big Boss pedal tuner.
We start with E, sixth string, and after tuning it, we go our way down and tune all the strings.
When all the strings are up to tension, we need to stretch them because they are new. Just give them a little tug.
Step 6: Setting the truss rod

We look down one side of the neck to see where we are at, all the way down the fretboard.
We wanna make sure there is no “hump” or a “banana”, which means the string tension is either too tight or too loose.
If the string tension is too loose, tighten it up with a quarter turn right using your allen wrench. If the string tension is too tight, loosen it up with a quarter turn left using your allen wrench.
Step 7: Finishing steps

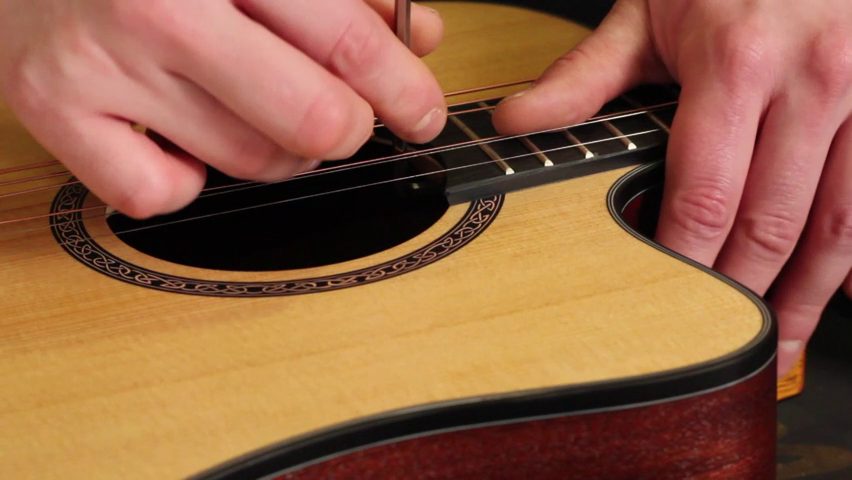
Trim the excess of you strings using clippers. Trim it as tight as possible, and make sure you don’t leave a little nubbin’ that might hurt your finger.
Check if your guitar is in tune once again, after adjusting the string tension. So, after another fun through tuning, you are done and ready to play.